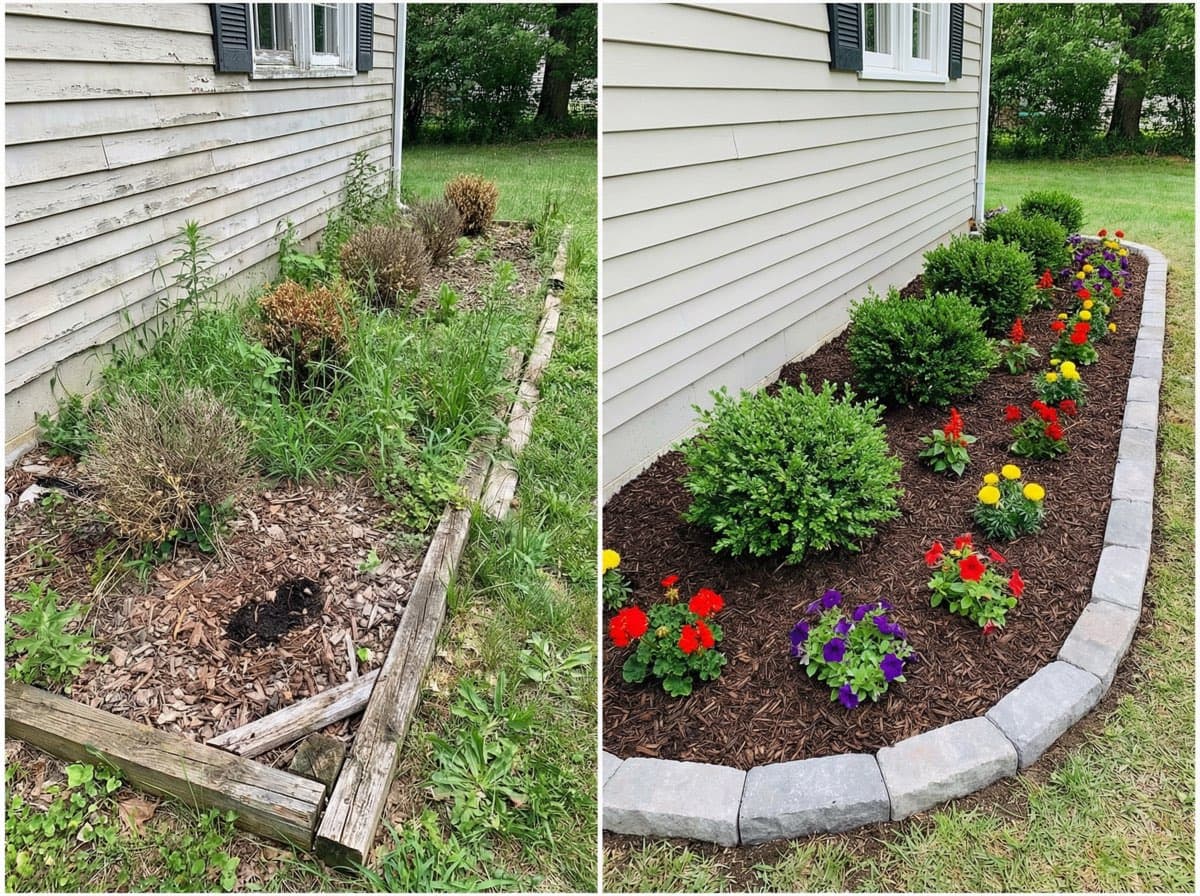
Same Angle, Same Lighting
The most common mistake contractors make is taking the before photo from one angle and the after from another. This makes it hard for customers to see the transformation.
Stand in the exact same spot for both photos. Use a landmark like a tree or fence post to help you remember your position.
Clean Your Lens
It sounds obvious, but a smudged camera lens is the number one cause of blurry, unprofessional photos. Wipe your phone lens before every shot.
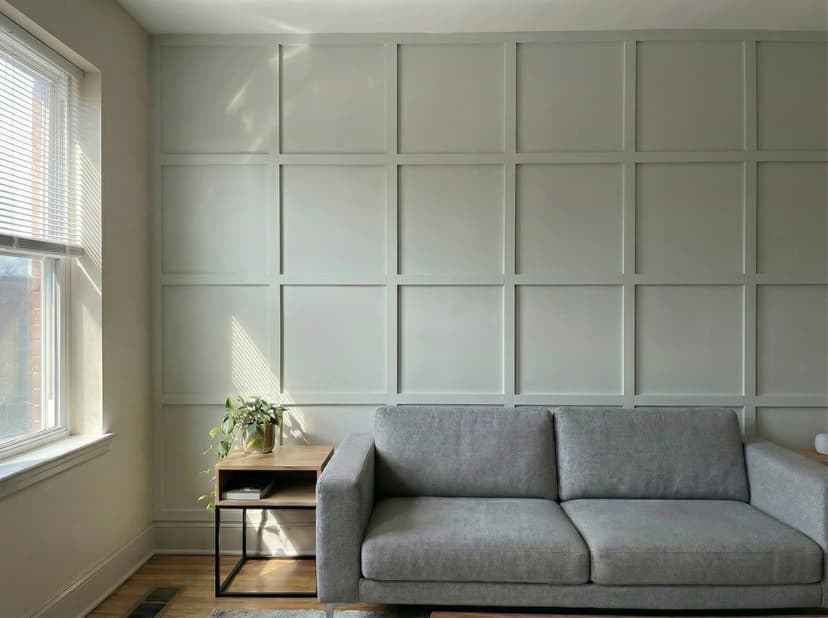
Shoot in Good Lighting
Natural daylight is your friend. Avoid shooting directly into the sun, and try to take photos during the "golden hours" — the first hour after sunrise and the last hour before sunset.
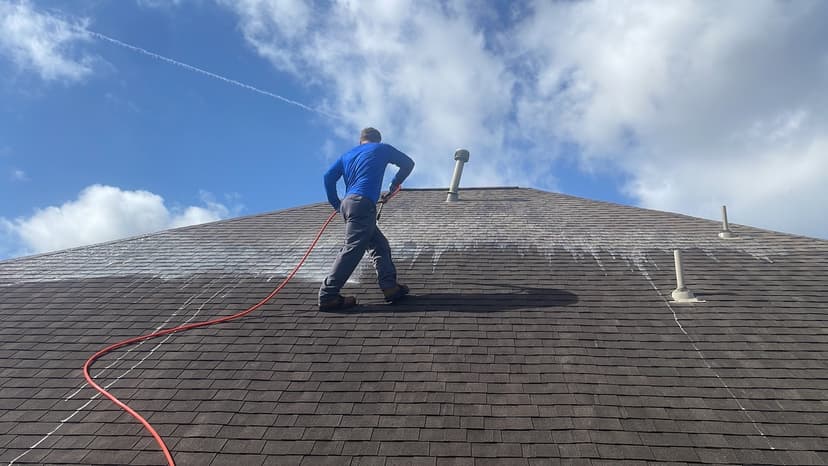
Include Context
Don't zoom in too tight. Include some surrounding context so viewers can understand the scale of the transformation.
Take Multiple Shots
Don't rely on a single photo. Take several from different angles so you have options. You can always delete the ones you don't use.
Use ProofShot Pro
With ProofShot Pro, you can turn your before and after photos into branded, professional images and share them in seconds. Try it free today.